
Learn how to start with FotoMagico on a desktop and learn how to create your first slideshow.
Transcript of the Getting Started with FotoMagico Tutorial:
Hi, and welcome to FotoMagico™ 6. In this short intro tutorial, we will show you how getting started with FotoMagico. So let’s dive right in.
To create a new slideshow, select new from the final menu. Enter the name of the slideshow, and if not already there, enter your own name in the author field. Then click on Create.
The FotoMagico document window is divided into three main areas, the storyboard, the stage, and the sidebar. The storyboard is where you arrange your slideshow sequence. The stage lets you position the layers of each individual slide. The sidebar contains various media browsers and options to fine tune everything.
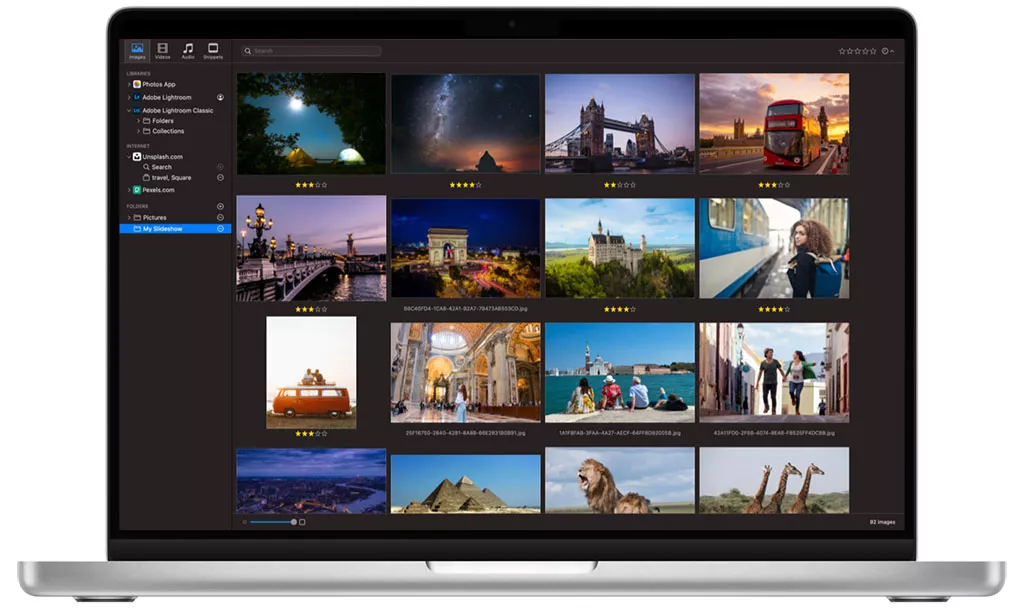
Switch the sidebar to the image browser, select the desired folder, and drag a couple of images to the storyboard. Click on play to preview. As you can see, the slides automatically have a default duration and animation.
The slides can be rearranged by dragging them around in the storyboard. The stage displays the layers of an individual slide. Here you can position or zoom the layers as desired by setting different positions or zoom factors. For start and finish, you can adjust the animation of each layer.
Next, let’s add some audio to the slideshow. Switch to the snippets browser, and drag a song from the music section to the storyboard. Because of the audio markers contained in the music snippet, the slides are now automatically synced to the beat of the music.
Finally, let’s add some polish by adding an intro and some credits with the help of snippets, which are reusable components that speed up slideshow authoring. From the intro section, drag the mountain snippet to the beginning of the slideshow from the credit section, drag the rolling credits and made with FotoMagico snippet to the end of the slideshow.
Select full screen playback from the play menu to view the finished slideshow. If you have a projector connected to your Mac, you can choose the projector as the playback screen.
One way to share your finished slideshow with the rest of the world is to select YouTube from the share menu. Log into your YouTube account, fill out all the necessary information, and then click on Continue to render and upload the slideshow.
This was just a quick introduction on how to create your first slideshow. To find out more about using FotoMagico , check out the FotoMagico help or download more in-depth tutorials by selecting new from the slideshow menu and switching to the tutorial section.
Thank you for watching, and enjoy watching the Getting Started with FotoMagico Tutorial.