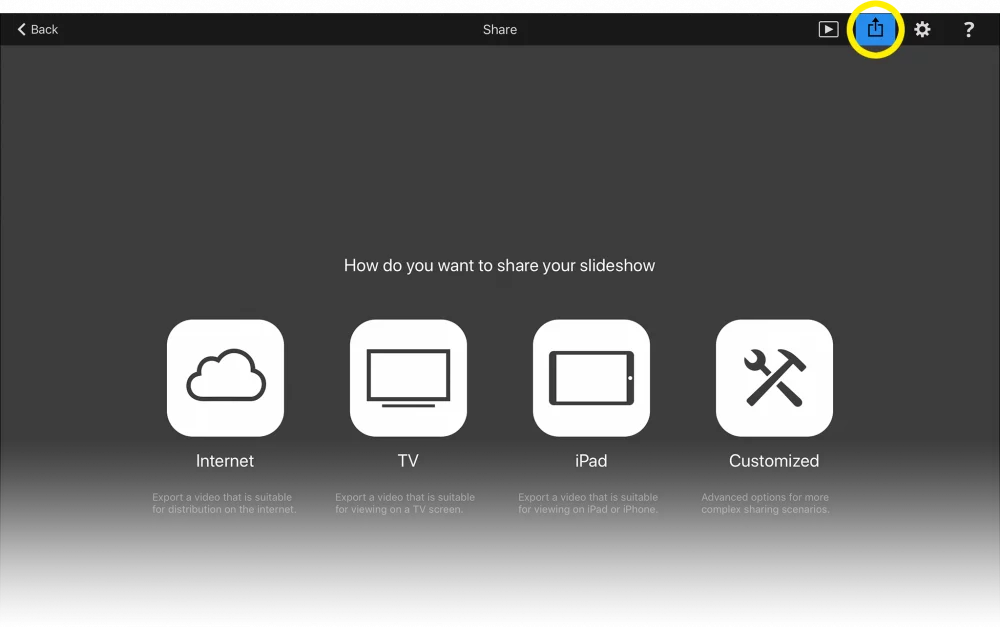
Once you have authored your slideshow and showed it to a local audience, you may want to share it with even more people. Exporting the slideshow to a video file and uploading it to the internet, e.g. to YouTube is a perfect way to reach a worldwide audience. Tap on the Share button to show the Sharing Assistant.

Choosing the Distribution Method
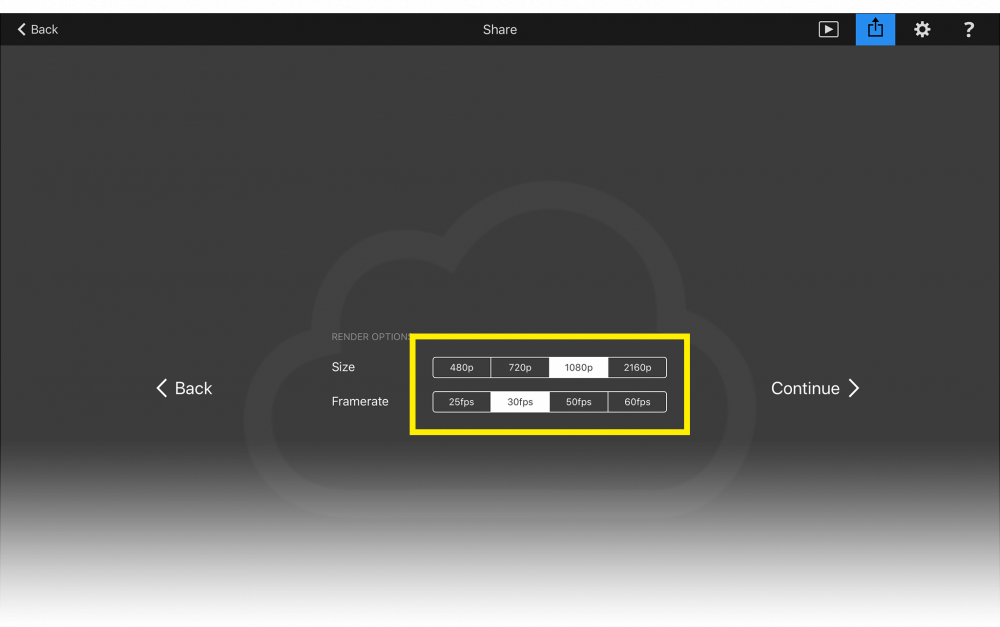
First choose how you want to distribute your slideshow. The options are Internet, TV, iPad, and Customized. Obviously internet offers the greatest reach. Tap on one of the choices and then select the export parameters like export size and framerate.
Exporting
Choose the export parameters. When choosing Customized you have a lot more control over the rendering and encoding process when creating the video file. This is for power users only, as it requires quite a bit of knowhow about video and audio codecs. Their description is beyond the scope of this documentation. Once all parameters are selected, tap on Continue to start exporting.

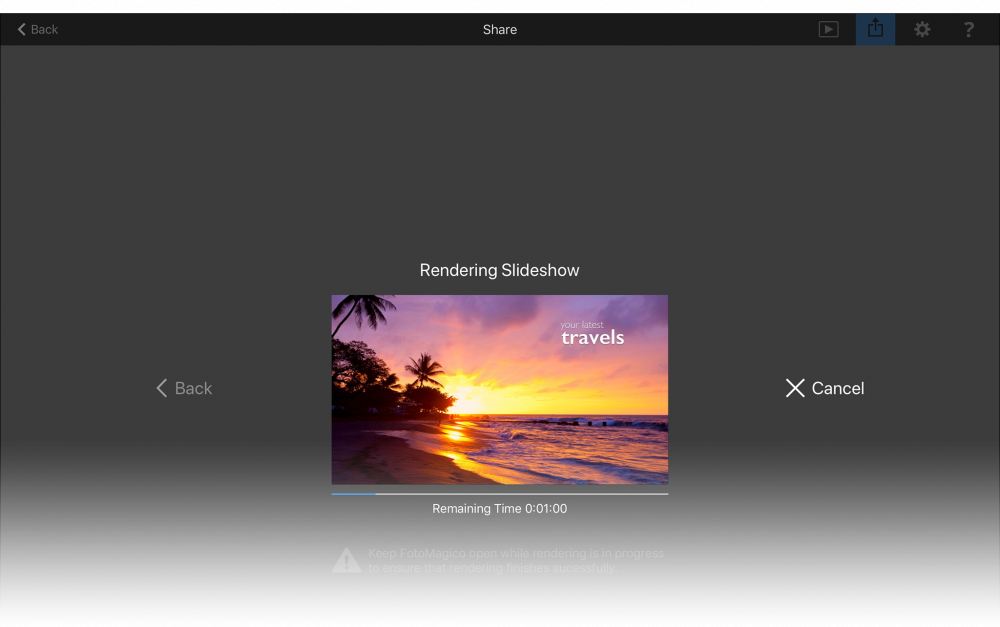
Depending on the size of your slideshow, rendering may take quite a while. Do not send the app to the background while rendering is in progress – as this might cause rendering to fail, so please be patient. If you wish to abort rendering, you may tap on Cancel at any time. You will have to confirm cancelling before rendering is actually aborted.

Sharing
Once rendering has finished you need to decide how to share your slideshow. FotoMagico offers a couple of options:
- Upload the rendered video file to YouTube for worldwide distribution.
- Add the rendered video file to your Photos library for local viewing on your iPad.
- Copy the rendered video file to the Files app. This is also a way to copy the video file to another computer via iCloud Drive or Dropbox.
- Other offers more system provided options to share the rendered video file.
Uploading to YouTube
If you choose to upload the exported video to YouTube, you first need to log in to your YouTube account. You will be automatically diverted to the web browser (Safari), where you can log in. You need to grant FotoMagico access to your YouTube account, or uploading will not be possible. Once you are logged in, control will automatically return to FotoMagico.
Now you need to enter the information about the video – including title, description, category, and privacy status. And again, do not forget to include the music credits, or your video might be blocked in some countries.
When you are done, tap on Upload.
Uploading may take a while (depending on the speed of your internet connection). Please be patient. Once uploading has finished, it still takes a while until YouTube finishes processing the video, before it can be viewed worldwide.
